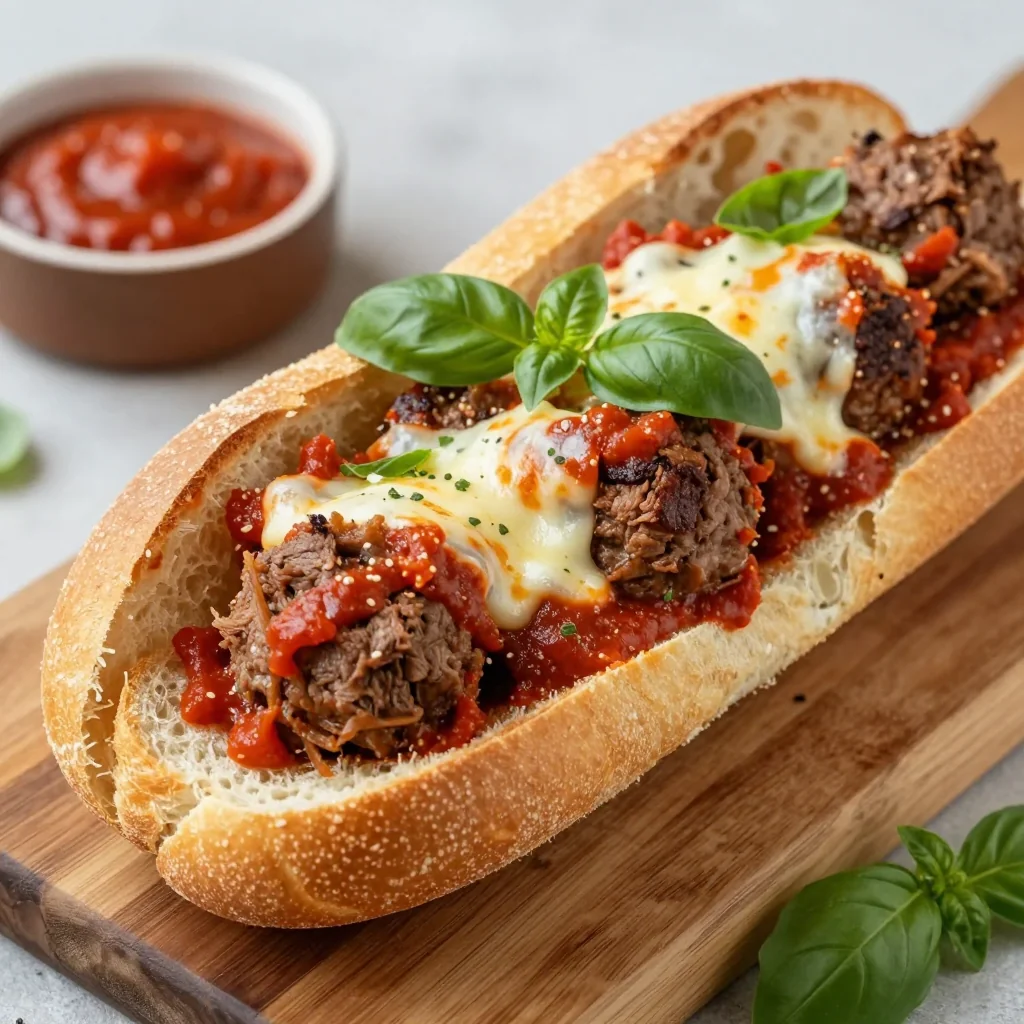
I was halfway through a Sunday roast, the kitchen smelling like a carnivore’s dream, when my phone buzzed with a frantic text: “Your ribs are still raw, and I’m starving.” The panic that followed was a culinary crucible that birthed the most glorious crockpot beef ribs I’ve ever made. Picture the sizzling sound as the first sear hits the pan, the deep mahogany glow of caramelized sugar, and the sweet, smoky aroma that rises like a promise. The moment you taste that first bite, the meat gives way like velvet, the sauce clinging like a second skin, and the entire kitchen erupts in a chorus of satisfied sighs. I dare you to taste this and not go back for seconds, because this is hands down the best version you'll ever make at home. Let me walk you through every single step — by the end, you'll wonder how you ever made it any other way.
The first time I tried a crockpot recipe, the ribs fell apart like a soggy sandwich, and my guests left with a blank stare. That disaster taught me that low‑heat tenderness and high‑heat caramelization can coexist if you give them the right environment. I discovered that a simple dry rub can lock in flavor before the slow cook, and that a splash of liquid smoke can mimic the smoky depth of an outdoor grill without the hassle. The secret ingredient? A balanced sauce that starts as a thick, savory base and ends as a glossy glaze that clings to each rib. This recipe is a testament to the idea that patience, technique, and a touch of daring can transform an ordinary dish into a showstopper.
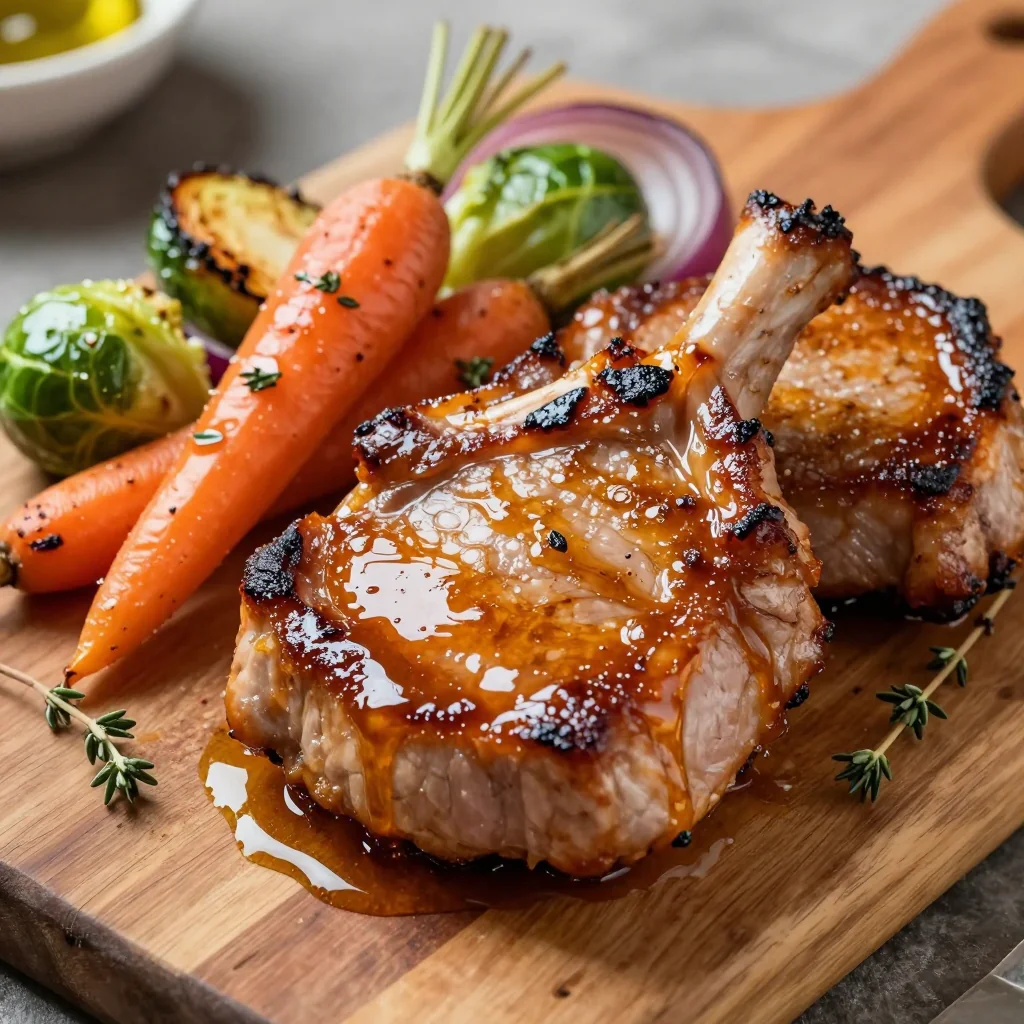
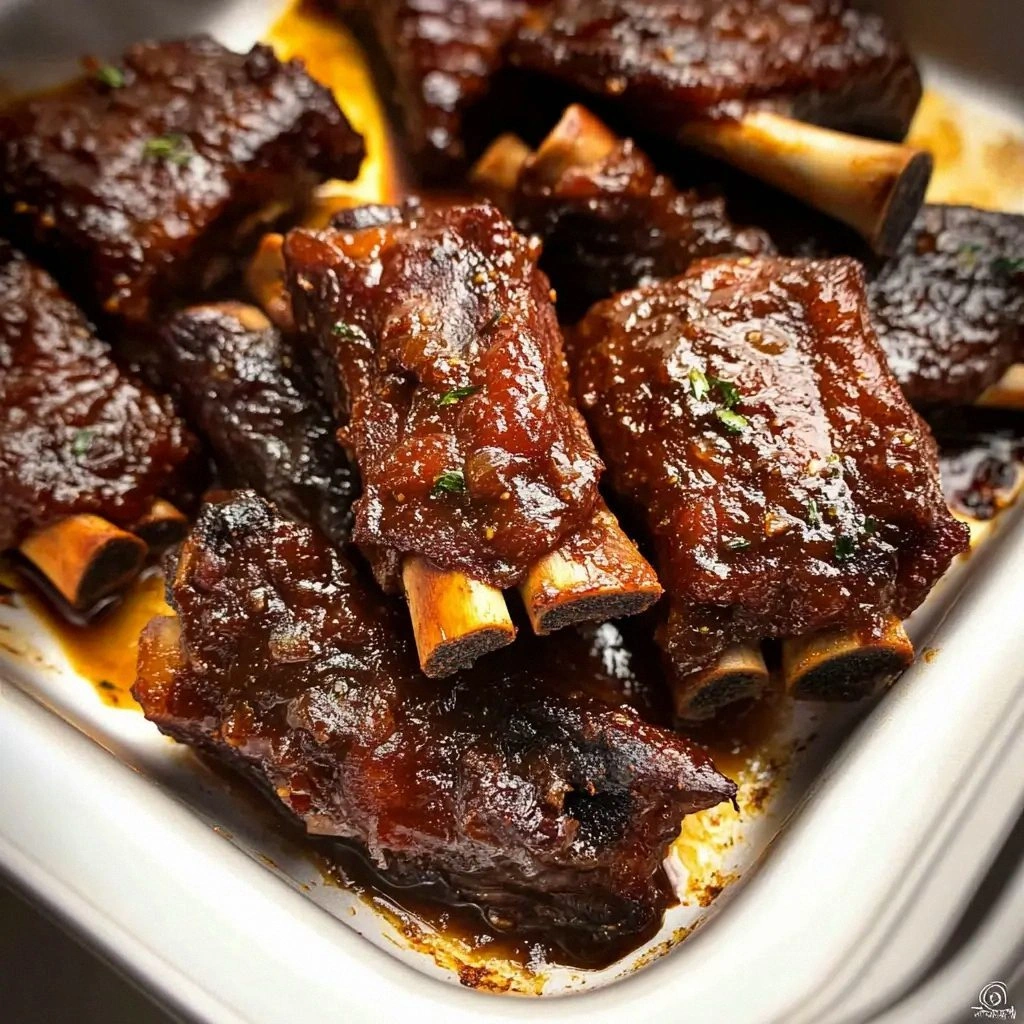
What makes this version stand out is not just the flavor profile but the entire experience. The ribs are so tender they practically dissolve, yet the exterior remains crisp enough to give that satisfying snap. The sauce is a symphony of sweet, tangy, and smoky notes that coat each bite like velvet, while a hint of citrus from apple cider vinegar keeps the richness from becoming cloying. The cooking method leverages the crockpot’s low heat to break down connective tissue, then finishes with a quick sear to lock in caramelization. The result is a dish that looks as impressive as it tastes, turning any ordinary dinner into a memorable feast. This is the kind of recipe that brings people together over a shared love of flavor and comfort.
What Makes This Version Stand Out
- Flavor: A sauce that balances sweet, tangy, and smoky, creating layers that evolve with every bite.
- Texture: Juicy interior with a caramelized crust that breaks apart with a gentle pull.
- Convenience: One‑pot, one‑step prep that frees you to enjoy the cooking process.
- Versatility: Works for a family dinner, a potluck, or a quiet night in.
- Crowd‑pleaser: Even the most skeptical meat‑eaters will be begging for seconds.
- Ingredient Quality: Uses fresh, high‑quality cuts and pantry staples that amplify flavor.
- Make‑Ahead: Perfect for busy weeks; prep the night before and let the crockpot do the work.
- Visual Appeal: The glossy glaze and caramelized edges make every plate Instagram‑ready.
Alright, let's break down exactly what goes into this masterpiece. The next section will walk you through each ingredient, why it matters, and how to tweak it if you’re feeling adventurous.
Inside the Ingredient List
The Flavor Base
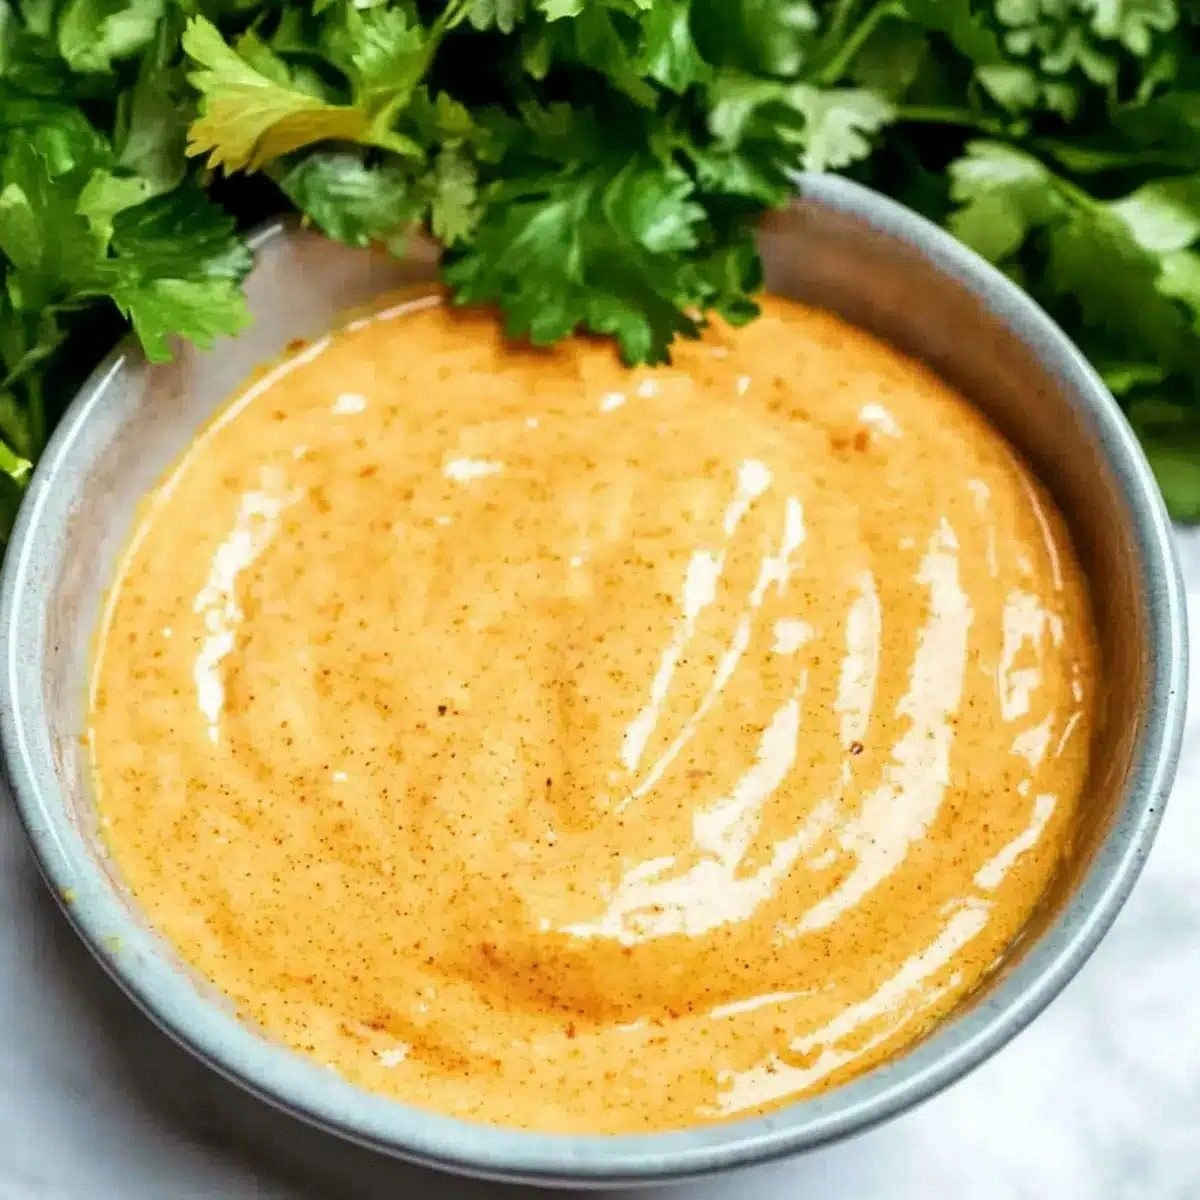
The sauce starts with a foundation of ketchup, Worcestershire sauce, and soy sauce, each contributing a unique umami punch that grounds the dish. Adding apple cider vinegar brings a bright acidity that cuts through the richness, preventing the ribs from becoming cloying. A splash of liquid smoke simulates the flavor of a wood‑smoked grill, giving the ribs that coveted smoky undertone without any actual smoking. Together, these liquids create a complex flavor base that deepens as the ribs cook.
If you skip the vinegar, the sauce will taste flat and overly sweet, losing that essential brightness. Conversely, using too much vinegar can overpower the meat, so stick to the measured amount. For a sweeter profile, you can swap half the ketchup for barbecue sauce, but keep the soy sauce to maintain depth. This combination is the backbone of the dish; treat it with respect, and the rest will follow.
A small amount of honey balances the tanginess and caramelizes beautifully during the final sear. The honey also contributes a subtle caramel color that makes the ribs visually stunning. If you prefer a less sweet sauce, reduce the honey by half or replace it with brown rice syrup. Remember, the sauce is meant to coat and cling, so it should be thick enough to cling to each rib without dripping excessively.
The Texture Crew
Beef ribs are a masterclass in texture, and the right rub can elevate them from good to unforgettable. Salt, black pepper, garlic powder, and onion powder form the classic savory base that enhances the meat’s natural flavors. Smoked paprika adds a gentle heat and deep color, while cumin and chili powder introduce subtle earthiness and a mild kick.
The brown sugar in the rub not only adds sweetness but also contributes to the caramelization that forms the ribs’ signature crust. If you’re watching your sugar intake, you can substitute the brown sugar with a natural sweetener like maple syrup or agave nectar. The rub should be applied liberally, allowing it to penetrate the meat and lock in moisture during the slow cook.
A pinch of cayenne pepper is optional but recommended for those who like a bit of heat. It’s the difference between a mild roast and a dish that wakes your palate. If you’re hosting a family with varied spice tolerance, keep the cayenne in a separate bowl so guests can add it to their plates as they wish.
The Unexpected Star
Fresh garlic and sliced onion aren’t just flavor enhancers; they’re the unsung heroes that add depth and aroma. Minced garlic releases its full flavor when seared, while the onions provide a sweet, caramelized backdrop. Together, they create a fragrant base that permeates the entire pot.
If you’re short on time, you can use garlic powder and dried onion flakes, but the fresh versions bring a brightness that’s hard to replicate. The onions also help keep the ribs moist, as their natural sugars caramelize and form a protective layer around the meat. Don’t skip them—your ribs will thank you.
Another surprising component is the beef broth, which keeps the ribs submerged and adds a subtle savory note. It also helps the sauce thicken as it reduces. If you prefer a thicker consistency, add a tablespoon of flour or cornstarch at the end of cooking to create a glossy, clingy glaze.
The Final Flourish
Butter is the finishing touch that adds richness and a silky texture to the sauce. It also helps the glaze set into a glossy sheen that’s as pleasing to the eye as it is to the palate. Adding a tablespoon of butter just before serving ensures the sauce doesn’t separate, keeping every bite silky.
If you’re vegan or simply want to keep the dish dairy‑free, you can replace butter with coconut oil or a neutral‑flavored oil. The key is to finish with a fat that can bind the sauce and give it a luscious mouthfeel. This final flourish transforms a good dish into a memorable one.
Everything’s prepped? Good. Let’s get into the real action.
The Method — Step by Step
- First, pat the ribs dry with paper towels to ensure a good sear. Sprinkle the dry rub liberally, making sure every surface is coated. Let the ribs rest for 15 minutes so the spices can penetrate. This step is the foundation of flavor, so don’t skip it.
- Heat a large skillet over high heat and add a splash of oil. Sear the ribs on all sides until they develop a deep brown crust, about 2-3 minutes per side. The caramelization here locks in juices and builds a savory base for the sauce. Watch for the subtle crackle that signals readiness.
- While the ribs sear, combine the ketchup, Worcestershire sauce, soy sauce, apple cider vinegar, liquid smoke, honey, and beef broth in a bowl. Whisk until smooth, then pour the mixture into the crockpot. The sauce should coat the bottom evenly, creating a flavorful pool for the ribs.
- Place the seared ribs into the crockpot, standing them on their own legs if possible. Add the sliced onion and minced garlic around the ribs. This layering ensures the aromatics infuse the meat as it cooks.
- Cover and cook on low for 6-7 hours, or until the meat is tender enough to pull away from the bone. The slow heat breaks down connective tissue, resulting in melt‑in‑your‑mouth tenderness. If you’re short on time, cook on high for 3-4 hours, but the low setting delivers the best texture.
- When the ribs are ready, preheat your broiler to high. Transfer the ribs to a baking sheet lined with parchment paper, and brush them generously with the remaining sauce. Broil for 2-3 minutes, watching closely until the glaze caramelizes and the edges blister. This quick sear adds the final crunch.
- Remove the ribs from the broiler and let them rest for 5 minutes. This allows the juices to redistribute, ensuring every bite is juicy. While they rest, reduce the sauce on the stove if you want a thicker glaze.
- Slice the ribs between the bones, and serve them on a platter with extra sauce on the side. Garnish with fresh herbs like parsley or cilantro for a pop of color. The presentation is as important as the flavor.
- If you have leftover sauce, whisk in a tablespoon of butter to finish it into a glossy, silky glaze. This final touch elevates the sauce’s mouthfeel and visual appeal. Serve the glaze alongside the ribs for dipping.
- Enjoy your masterpiece! This dish is perfect for a family dinner, a potluck, or a quiet night in. The aroma alone will have guests gathering around the table, and the taste will keep them coming back for more.
That’s it — you did it. But hold on, I've got a few more tricks that'll take this to another level. These insider tips will help you avoid common pitfalls and elevate the flavor profile even further.
Insider Tricks for Flawless Results
The Temperature Rule Nobody Follows
Most people think the crockpot’s “low” setting is a universal sweet spot, but the real magic happens when you let the meat reach the right internal temperature. Aim for 195°F to 205°F for the perfect fall‑apart texture. This range ensures the collagen breaks down into gelatin, giving the ribs that silky mouthfeel. If you’re unsure, use a meat thermometer to check the thickest part of the meat.
Why Your Nose Knows Best
The aroma that rises from the pot is a reliable indicator that the sauce is thickening correctly. When the scent becomes rich and slightly sweet, it’s time to reduce the liquid or finish under the broiler. A dull, watery scent signals that you need to simmer longer or add a thickener.
The 5-Minute Rest That Changes Everything
After the ribs are done, let them rest for exactly five minutes. During this brief pause, the juices redistribute, preventing them from spilling out when you cut the meat. The result is a juicier bite and a cleaner presentation. This simple step is often overlooked but makes a noticeable difference.
The Garlic Boost
If you love garlic, consider adding a whole head of garlic, halved, to the pot. The garlic will soften and infuse the entire dish with a mellow, sweet flavor that complements the beef. Remove the cloves before serving, as they can become overpowering if left too long.
The Liquid Smoke Trick
Liquid smoke is a powerful flavor enhancer, but it can be tricky to use in the right amount. Start with one teaspoon and taste the sauce before adding more. A little goes a long way; too much can taste chemical. Adjust to taste, and you’ll have a smoky depth that rivals a pit‑smoked rib.
The Butter Finish
Adding a tablespoon of butter at the end of cooking brings a glossy sheen and silky mouthfeel to the sauce. It also helps the glaze set into a thick coating that clings to each rib. If you’re avoiding dairy, use a neutral oil or a vegan butter substitute for a similar effect.
Creative Twists and Variations
This recipe is a playground. Here are some of my favorite ways to switch things up:
Spicy Korean Fusion
Swap the Worcestershire sauce for gochujang and add a splash of sesame oil. Finish with toasted sesame seeds and sliced green onions for a Korean twist that’s bold and aromatic.
Maple Bourbon Glaze
Replace honey with pure maple syrup and add a splash of bourbon. The result is a rich, caramelized glaze with a subtle kick that pairs wonderfully with the beef.
Herb‑Infused Delight
Add fresh rosemary and thyme to the sauce for a Mediterranean vibe. The herbs infuse the meat with a fragrant, earthy flavor that complements the smoky base.
Vegan Rib Substitute
Use seitan or tempeh ribs for a plant‑based version. Follow the same rub and sauce, but reduce the cooking time to 3-4 hours on low.
Citrus Kick
Add a splash of orange juice and zest to the sauce for a bright, citrusy note. The acidity brightens the richness and adds a refreshing contrast.
Smoky Chipotle Twist
Incorporate chipotle peppers in adobo sauce for a smoky, spicy depth. The peppers add heat and a smoky undertone that enhances the overall flavor.
Storing and Bringing It Back to Life
Fridge Storage
Store leftover ribs in an airtight container in the refrigerator for up to 3 days. Keep the sauce separate to prevent the ribs from becoming soggy. When you’re ready to reheat, reheat the ribs and sauce together over low heat, stirring occasionally.
Freezer Friendly
Freezing is a great option for meal prep. Wrap the ribs and sauce tightly in freezer bags or vacuum seal them. They’ll keep for up to 2 months. Thaw overnight in the refrigerator before reheating.
Best Reheating Method
Reheat the ribs and sauce in a saucepan over low heat, adding a splash of water or broth to keep them moist. A gentle simmer will restore the sauce’s silky texture without drying out the meat. Finish with a quick broil for a crisp finish.