Ever had the urge to whip up something that feels like a guilty pleasure but you can actually eat it raw? I’m talking about the kind of sweet, chocolatey decadence that makes your heart skip a beat the moment the aroma hits your nose. Picture yourself in a cramped kitchen, a tiny saucepan clinking on the stove, and the sweet scent of brown sugar and cocoa swirling through the air. That’s the moment I discovered the ultimate edible brownie batter cookie dough that has me shouting, “This is hands down the best version you'll ever make at home.”
I was trying to salvage a batch of brownie batter that had gone a little too thick and decided to fold in some oat flour and chocolate chips, hoping for a quick snack. Instead, I stumbled upon a cookie that was gooey on the inside and crisp on the edges, with a chocolatey crunch that made me laugh at myself for not realizing I’d just invented a dessert that could be served raw or baked. I dared you to taste this and not go back for seconds, and trust me, the first bite was a revelation that sent me back for more. The kitchen was a mess, but the smell of chocolate and butter was the sweetest perfume you could ask for.
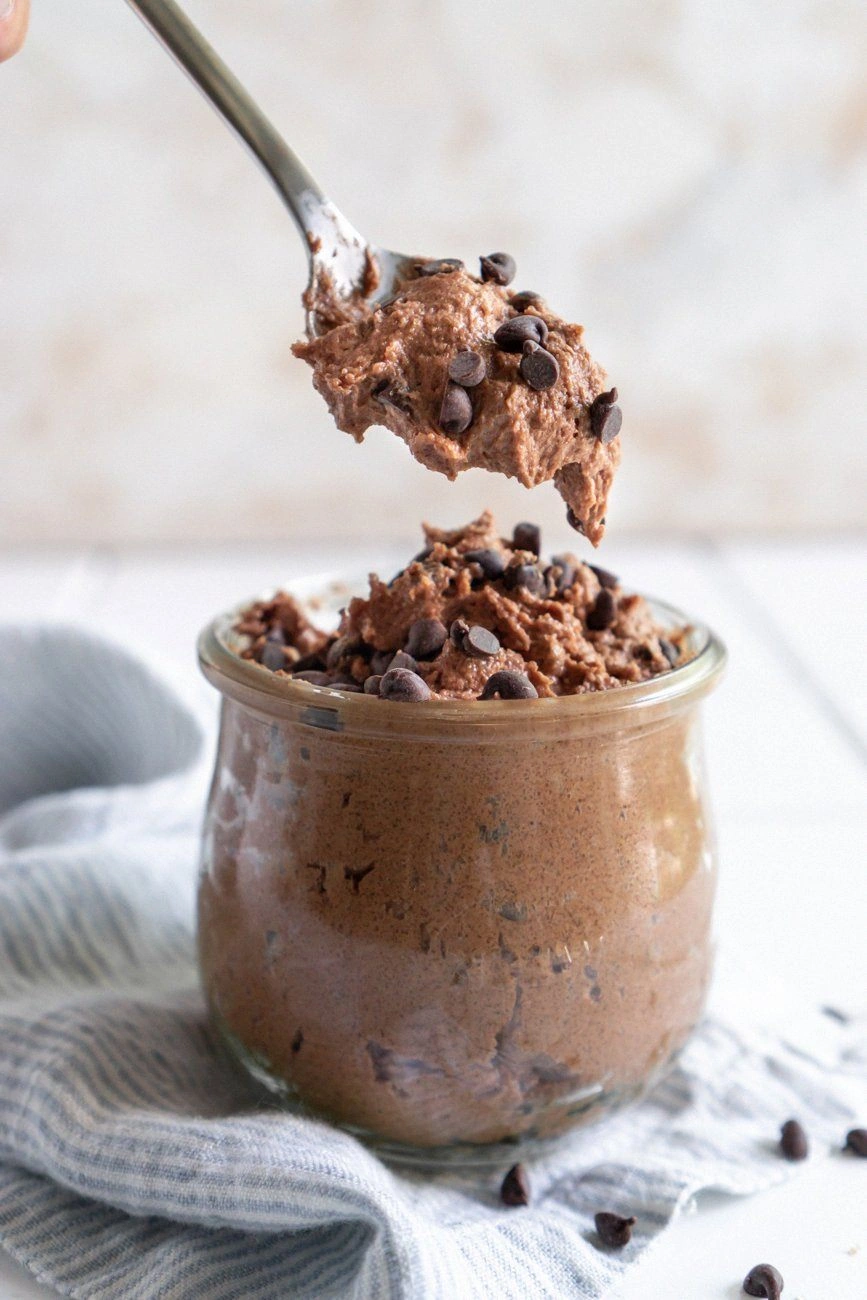
What makes this version stand out is that it blends the indulgence of brownie batter with the convenience of cookie dough, and it’s made with wholesome oat flour that gives it a hearty texture. The combination of brown sugar and granulated sugar creates a caramelized sweetness that lingers on the palate, while the unsalted butter brings a silky richness that melts in your mouth. The mini chocolate chips and dark chocolate chunks add layers of chocolate intensity that dance with each bite, and the splash of milk keeps the dough from drying out. I’ll be honest — I ate half the batch before anyone else got to try it, and the rest were gone in seconds. Picture yourself pulling this out of the oven, the whole kitchen smelling incredible, and having a batch that’s both a treat and a conversation starter.
Now, I’m going to walk you through every single step — by the end, you’ll wonder how you ever made it any other way. From the first whisk to the final bake, each moment is an opportunity to elevate the flavor, texture, and overall experience. If you’ve ever struggled with raw cookie dough that turns out too dry or too sticky, you’re not alone — and I’ve got the fix. Let’s dive into the details and unlock the secrets that make this recipe a game-changer.
What Makes This Version Stand Out
- Flavor: The dual-sugar blend creates a caramelized depth that balances the bitterness of cocoa, making each bite a harmonious symphony of sweet and rich.
- Texture: The oat flour gives the dough a chewy, slightly nutty mouthfeel that contrasts beautifully with the crisp edges of the baked cookie.
- Convenience: All ingredients are pantry staples, and the process takes less than 45 minutes from prep to finish.
- Versatility: It works as a raw snack, a quick cookie, or a decadent dessert, depending on your mood and the season.
- Nutrition: Using oat flour and dark chocolate adds fiber and antioxidants, turning a treat into a slightly healthier indulgence.
- Make‑Ahead: You can prep the dough a day ahead, refrigerate, and bake when the craving hits, saving you time on busy evenings.
- Crowd Reaction: Friends who’re skeptical about raw dough will be wowed by the creamy, chocolatey experience that feels like a dessert and a snack in one.
- Ingredient Quality: The recipe emphasizes using real butter and high‑quality cocoa powder for maximum flavor impact.
Inside the Ingredient List
The Flavor Base
Brown sugar and granulated sugar are the dynamic duo that sets the stage for a caramelized sweetness. Brown sugar brings molasses undertones, while granulated sugar provides a clean, sharp sweetness that balances the bitterness of cocoa. Skipping either will leave the dough lacking depth; the result will taste flat and one‑dimensional. If you’re craving a vegan version, swap the butter for a plant‑based butter that has a similar melting point.
The Texture Crew
Unsalted butter is the backbone of the dough’s mouthfeel, delivering a silky, melt‑in‑your‑mouth richness that coats the palate like velvet. Oat flour adds body and a slight nuttiness that counters the dense chocolate flavor. The ratio of 1/2 cup oat flour to 1/2 cup butter ensures the dough isn’t too dry yet maintains structure. If you prefer a lighter bite, reduce the oat flour by a tablespoon and add a teaspoon of almond flour for a subtle change.
The Unexpected Star
Cocoa powder is the unsung hero that gives the dough its signature chocolatey punch. Use a high‑quality Dutch‑processed cocoa for a smoother, less acidic finish. Adding 2–3 tablespoons of cocoa not only intensifies flavor but also helps the dough hold together when baked. If you’re a chocolate purist, experiment with a mix of natural and Dutch cocoa to tweak the flavor profile.
The Final Flourish
Milk is the liquid that brings everything together, preventing the dough from becoming too dry. A tablespoon is enough to create a cohesive mixture without diluting the chocolate flavor. Mini chocolate chips and dark chocolate chunks are the crowning jewels, offering bursts of chocolate that melt into the dough as it bakes. If you’re looking for a twist, try adding a sprinkle of sea salt on top before baking for a salty‑sweet contrast.
Everything’s prepped? Good. Let’s get into the real action...
The Method — Step by Step
- Start by preheating your oven to 350°F (175°C) if you plan to bake. If you’re enjoying it raw, skip this step and move to portioning. This is the moment of truth; the heat will set the texture just right. I dare you to watch the dough transform as it sizzles, a visual cue that the magic is happening.
- In a medium bowl, whisk together the brown sugar and granulated sugar until the mixture is fluffy. The sugar should feel like a fine sand, ready to absorb the butter. If the mixture clumps, let it sit for a minute; the sugar will rehydrate and smooth out. This step ensures the sweetness is evenly distributed.
- Add the unsalted butter to the sugar mixture and beat on medium speed until the butter is fully incorporated and the dough looks pale and airy. The butter should be at room temperature; if it’s too cold, it won’t blend smoothly. As the butter melts, it coats the sugar crystals, creating a silky base. Watch the color change; that’s the sweet transformation.
- Stir in the vanilla extract, salt, and 1/2 cup oat flour. Mix until the flour is fully incorporated, forming a smooth batter that doesn’t stick to the sides of the bowl. The salt is crucial; it balances the sweetness and brings out the chocolate flavor. Keep mixing until the batter feels cohesive and no dry pockets remain.
- Add the cocoa powder, milk, mini chocolate chips, and dark chocolate chunks. Fold gently with a spatula until all the chocolate is distributed. The milk should be added slowly to avoid creating a runny mixture. The chips should be evenly dispersed; they’re the stars of the show.
- If you’re baking, line a baking sheet with parchment paper and drop tablespoon‑sized spoonfuls of dough onto the sheet. Space them about 2 inches apart to allow for spreading. The dough should be slightly thick; it will flatten as it bakes. This step sets the shape of each cookie.
- Bake for 10–12 minutes, or until the edges are set but the centers remain soft and slightly gooey. Remove from the oven and let them cool on the sheet for 5 minutes before transferring to a wire rack. The aroma should be rich and chocolatey, filling the kitchen with temptation.
- If you’re enjoying the dough raw, divide it into bite‑size portions using a cookie scoop. Store the portions in an airtight container in the refrigerator for up to 48 hours. The dough will firm up, making it easier to handle while still retaining that melt‑in‑your‑mouth texture.
- Once cooled, drizzle a thin layer of melted dark chocolate over the top for an extra glossy finish. This final touch adds a caramelized crunch and a visual wow factor. The chocolate should set within a minute, creating a crisp shell around the chewy interior. Finish with a pinch of sea salt for that perfect salty‑sweet contrast.
That’s it — you did it. But hold on, I've got a few more tricks that'll take this to another level...
Insider Tricks for Flawless Results
The Temperature Rule Nobody Follows
Baking at the right temperature is key to achieving the perfect chew. If the oven is too hot, the cookies will spread too quickly and become thin. A steady 350°F (175°C) ensures a gentle rise, giving the chocolate time to set without overcooking. I once baked at 375°F and the edges were burnt while the center was underdone — not a good look.
Why Your Nose Knows Best
Smell is your best indicator of doneness. A warm, chocolatey aroma that lingers indicates the cookies are ready. If you notice a burnt scent, pull them out immediately. The nose is a more reliable gauge than a timer, especially when dealing with variable oven temperatures.
The 5-Minute Rest That Changes Everything
Letting the cookies rest on the baking sheet for 5 minutes before moving them to a rack allows the structure to set. This short pause prevents the cookies from breaking apart and gives the chocolate chips a chance to melt slightly, creating that signature gooey center. Skipping this step often results in fragile cookies that crumble.
Use a Silicone Baking Mat
Silicone mats provide even heat distribution and prevent sticking, making cleanup a breeze. They also give the cookies a slightly firmer bottom, which balances the soft interior. I’ve tried parchment alone, and the edges sometimes stick; the mat solves that issue effortlessly.
Keep the Dough Chilled Before Baking
Refrigerating the dough for 30 minutes before baking tightens the butter, resulting in cookies that hold their shape better. The dough will be firmer, and the chocolate chips will stay in place. I’ve found that room‑temperature dough tends to spread too much, producing thin, flat cookies.
Creative Twists and Variations
Salted Caramel Swirl
Swap the milk for a splash of salted caramel sauce and fold in a drizzle of sea salt before baking. The caramel adds a buttery sweetness that complements the dark chocolate, while the salt enhances the overall flavor profile. This variation is perfect for those who love a salty‑sweet balance.
Nutty Crunch Edition
Add chopped walnuts or pecans to the dough for an extra crunch. The nuts provide a contrasting texture and a subtle earthy note that pairs well with chocolate. Toast the nuts beforehand to bring out their flavor.
Minty Fresh Twist
Stir in a teaspoon of peppermint extract and a few drops of green food coloring for a festive look. The mint brings a refreshing lift that cuts through the richness of the chocolate. It’s a crowd‑pleaser at holiday parties.
Citrus Zest Surprise
Incorporate a tablespoon of orange zest to add a bright, citrusy note. The zest’s oils bring a lively contrast to the deep chocolate flavor, creating a more complex taste experience. This is ideal for summer gatherings.
Vegan Version
Replace the butter with coconut oil and use a plant‑based milk alternative. Ensure the chocolate chips are dairy‑free, and the result is a vegan‑friendly cookie that still delivers that rich chocolate experience. This variation opens the recipe to a wider audience.
Storing and Bringing It Back to Life
Fridge Storage
Store the baked cookies in an airtight container at room temperature for up to a week. If you prefer them fresh, keep them in the fridge; the cool temperature will maintain the chewy center. For raw dough portions, refrigerate in a sealed bag for up to 48 hours, and they’ll stay firm and easy to handle.
Freezer Friendly
Freeze baked cookies on a parchment‑lined tray for 24 hours, then transfer to a freezer bag. They can stay in the freezer for up to 3 months. To thaw, leave them at room temperature for 15 minutes, or microwave on a low setting for 10 seconds. Raw dough can also be frozen for up to 2 weeks; thaw in the fridge overnight.
Best Reheating Method
Reheat baked cookies in a 300°F oven for 5 minutes to restore crispness. For raw dough, gently warm in a microwave at 30% power for 10 seconds to soften. Adding a tiny splash of water before reheating helps the cookies steam back to perfection, preventing them from drying out.